
Cluster Configuration
-
Open a client browser (Google Chrome is recommended), enter the installed Manager Node IP or DNS address, such as http://172.16.3.108:8180/ (172.16.3.108 is the IP address of the Manager Node). Visit this address and users will see the login page below. Manager will try to determine the language users use based on users’ system. If the language currently displayed is different from the one user wants to use, users can click in the upper right corner to select the language. Manager supports English and Chinese now.
-
Login as admin, password is also admin.
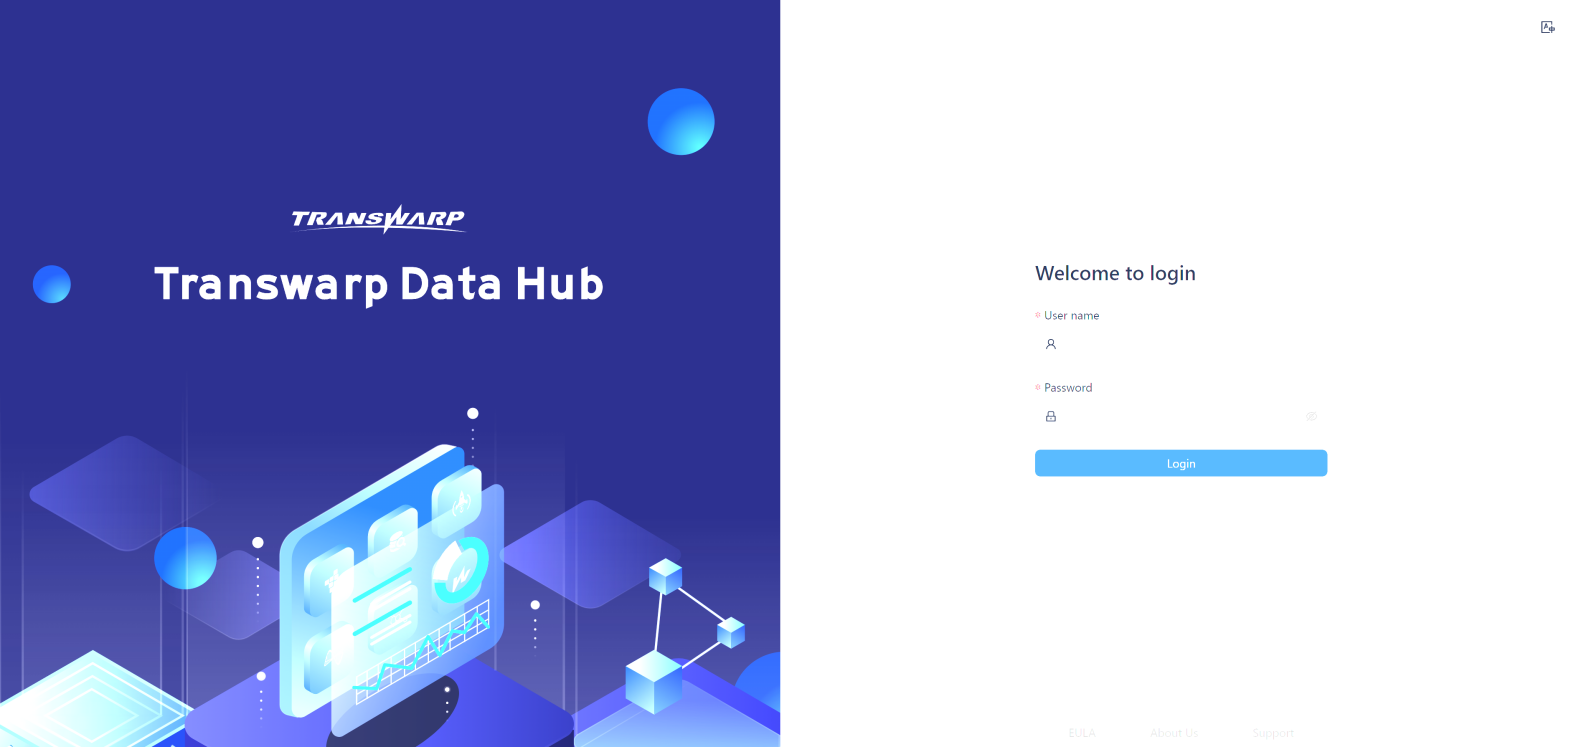
Figure 6-1 Login Page
-
After logging in, users need to accept the End User Agreement before users can take any further action:
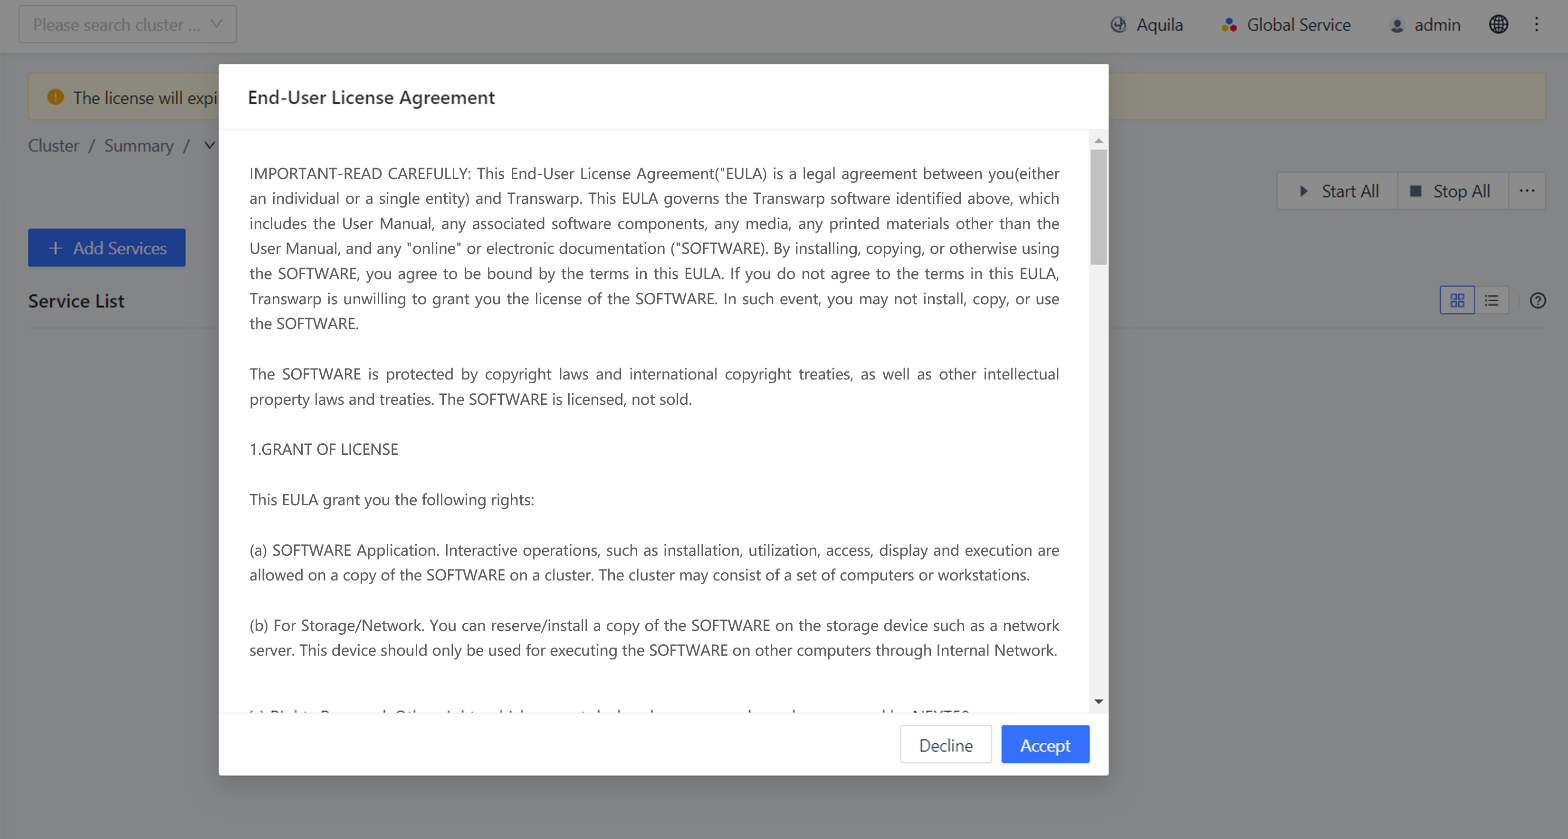
Figure 6-2 End User License Agreement
-
Users need to set a name for users’ cluster. Enter the cluster name and click "Next":
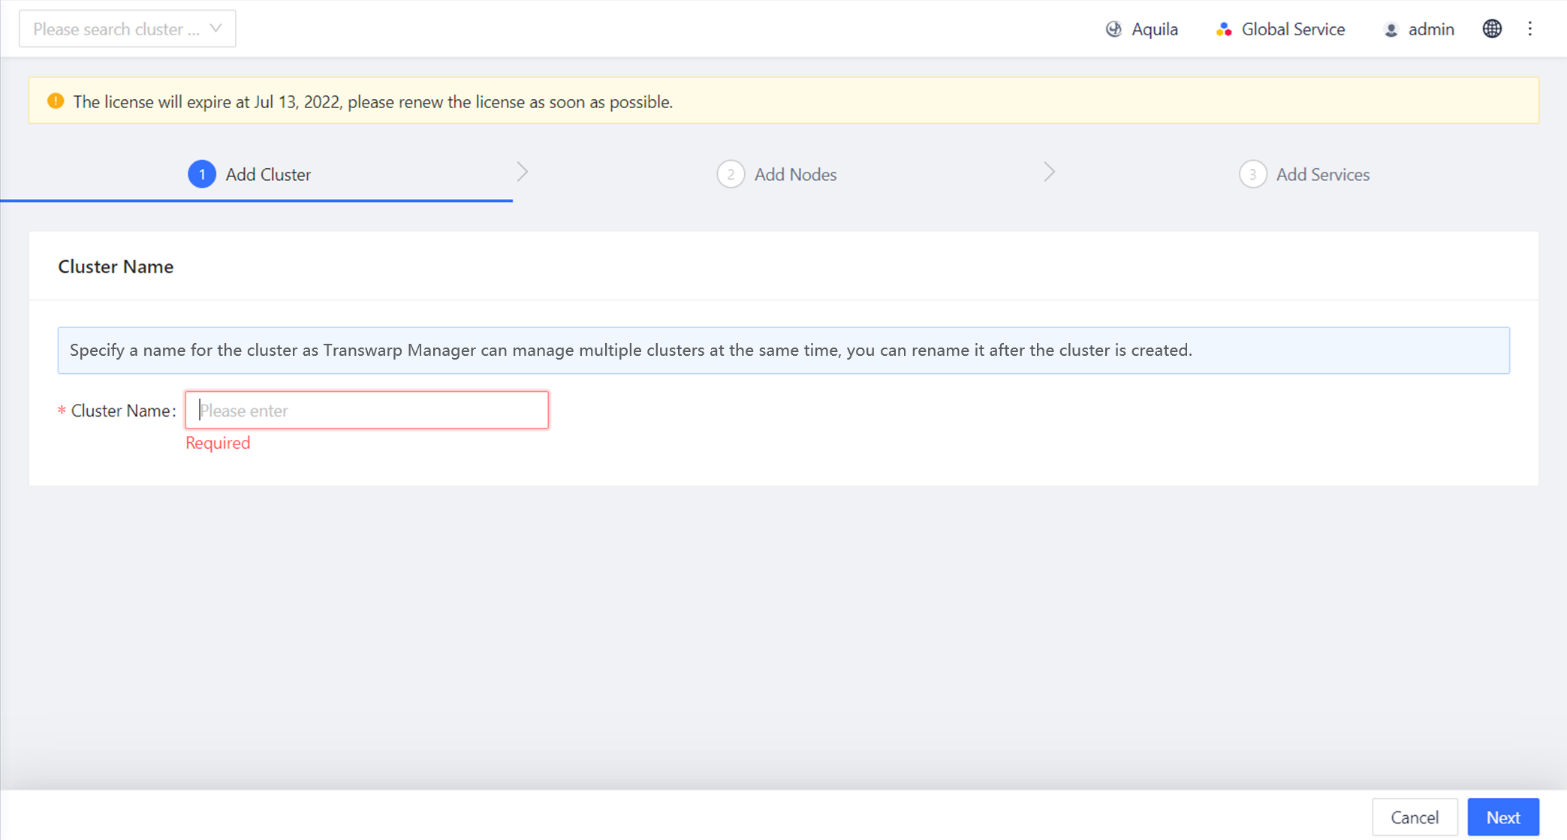
Figure 6-3 Set Cluster Name
Global Settings
DNS Configuration
If the nodes in the configuration cluster can access each other by using hostnames, the user must configure a valid DNS server or /etc/hosts file. Otherwise, select the required management tool to configure /etc/hosts, Manager will configure the /etc/hosts file for users accordingly, and then add nodes.
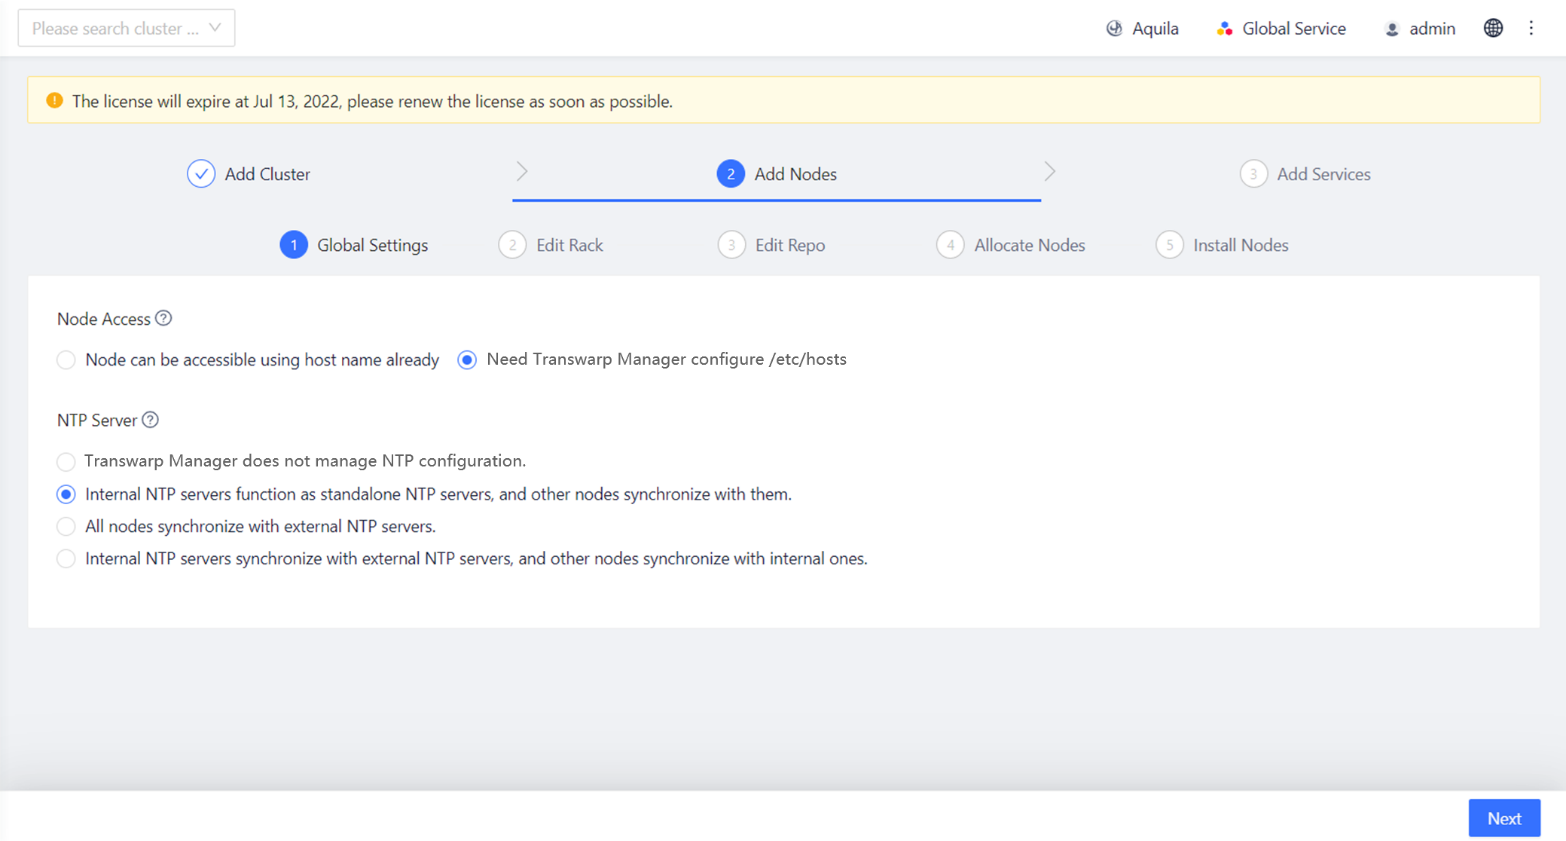
Figure 7-4 Global Settings -- DNS Configuration
NTP Configuration
Use NTP server to ensure clock synchronization of nodes in the cluster. Users can specify an external NTP server or rely on Manager to automatically select a node as the internal NTP server.
Kindly note
To use an external NTP server to ensure clock synchronization for users’ cluster, users need to ensure that users’ cluster can connect to the external NTP server.
If users need to use an external NTP server, choose "All Nodes Sync with External NTP" or "Internal NTP Server Sync with External NTP. Other Nodes Sync with Internal NTP Server", as shown below. Click "Add NTP Server", enter the NTP server users want to add, and click "Test Link" to test the connection of the added NTP server. Clicking "Add NTP Server" repeatedly allows users to add multiple NTP servers.
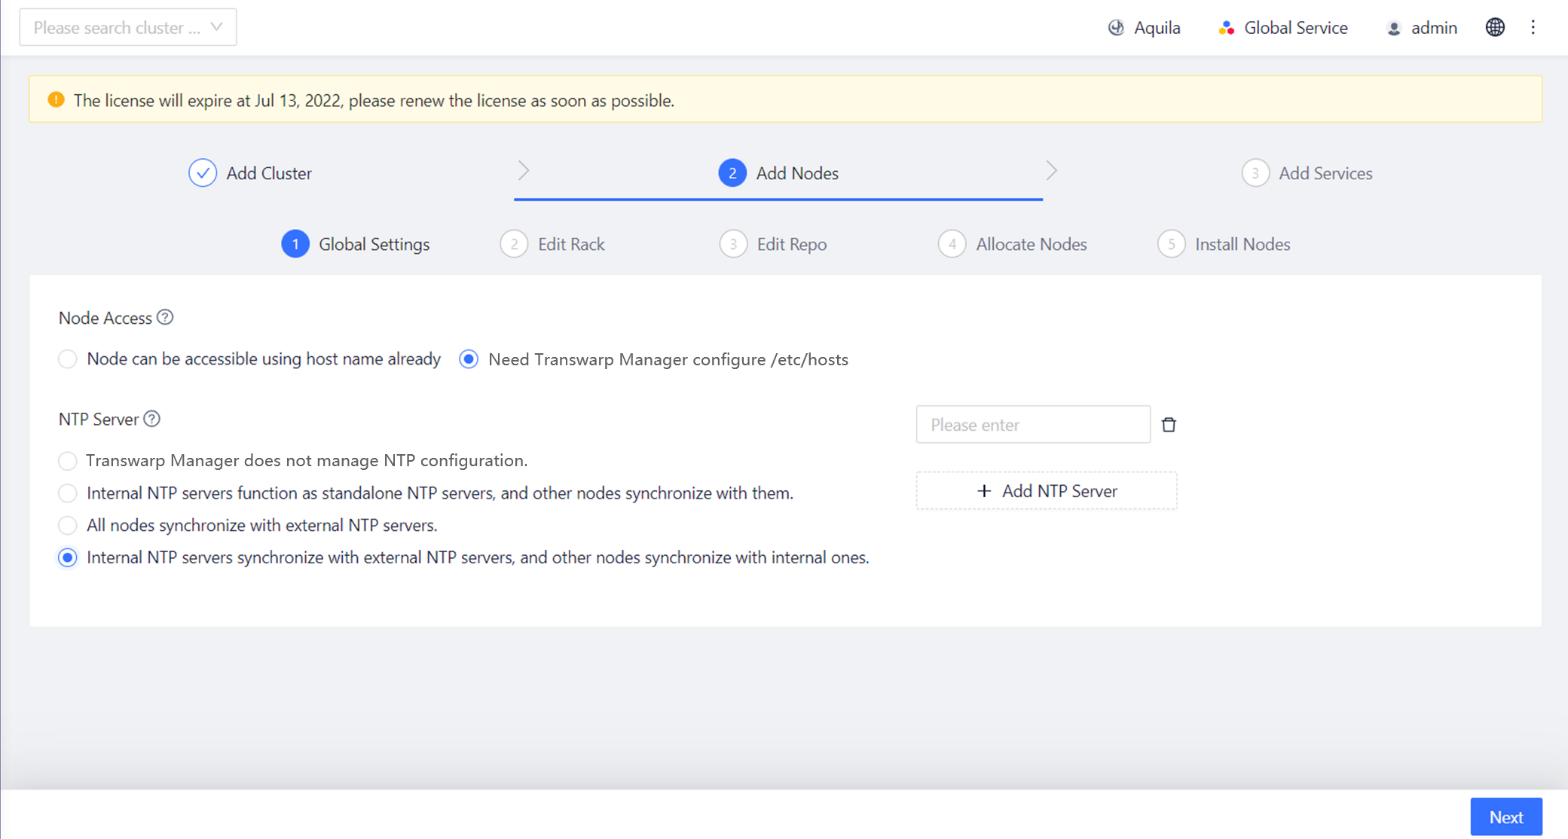
Figure 6-5 Global Settings -- NTP Configuration
After completing global settings, click "Next".
Add/Delete Cluster Server
Users can add / delete / modify cabinets, add nodes, and configure RPM repository in this step.
-
Click the name and description of the cabinet to edit them. The number of nodes will automatically change with users’ subsequent configuration. Click "Next" when users finish the operation.
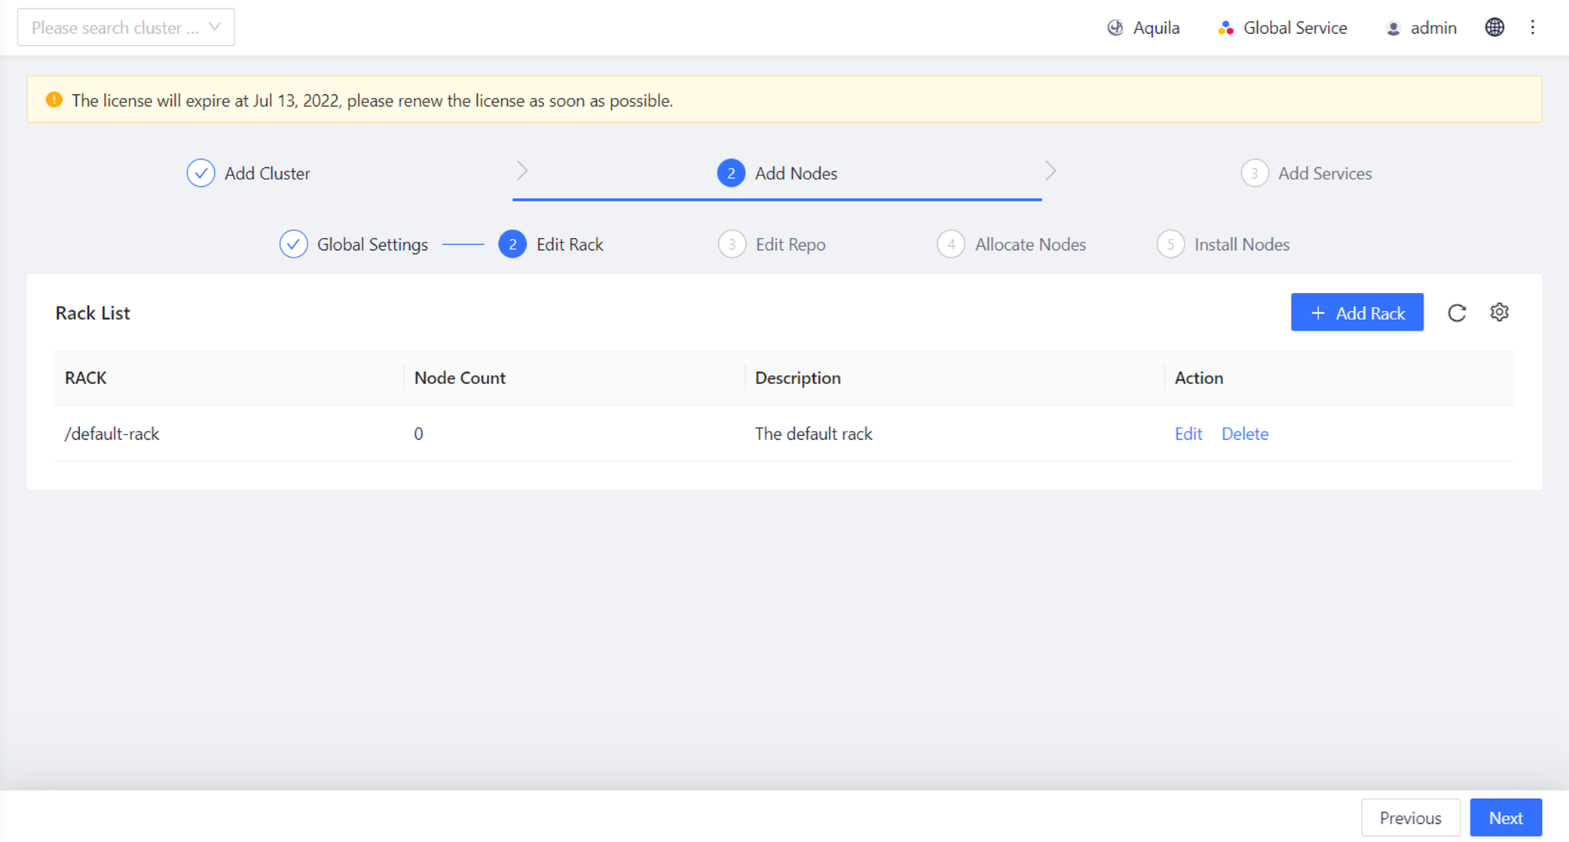
Figure 6-6 Edit Rack
Users can add a new RPM repository in this step. Since version 5.2 onwards, TDH supports clusters with nodes running on different operating systems, users just need to add RPM repository configuration and configure the node with the corresponding RPM repository.
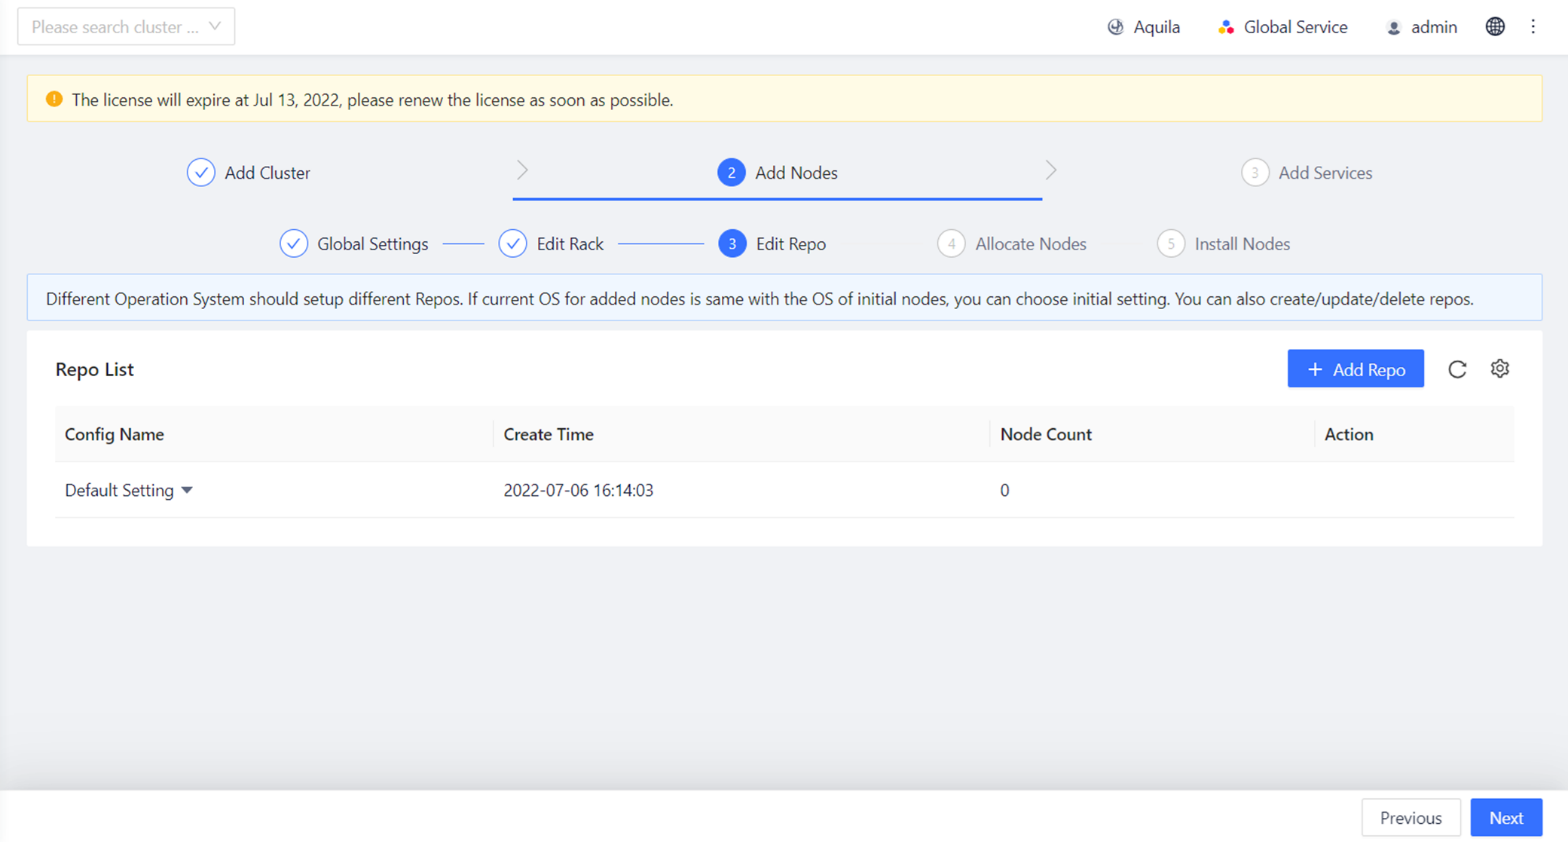
Figure 6-6 Edit Repo
-
Click “Add Repository Configuration” and fill in the relevant configuration:
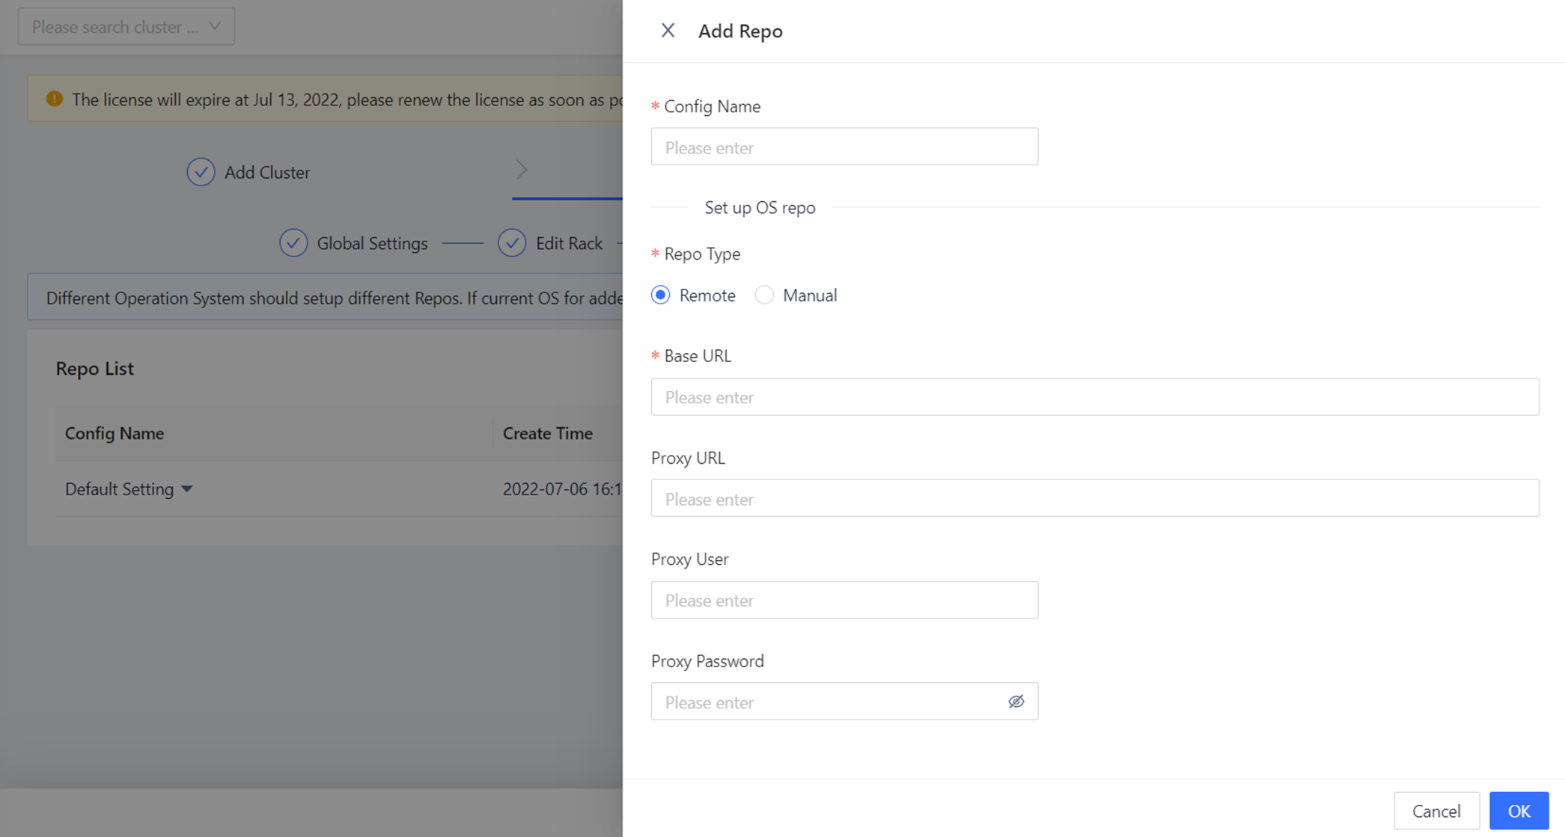
Figure 6-8 Add Repo
-
When users have finished, click “OK” to save users’ configuration. Users can see the detailed configuration information by clicking the drop-down arrow for the corresponding RPM.
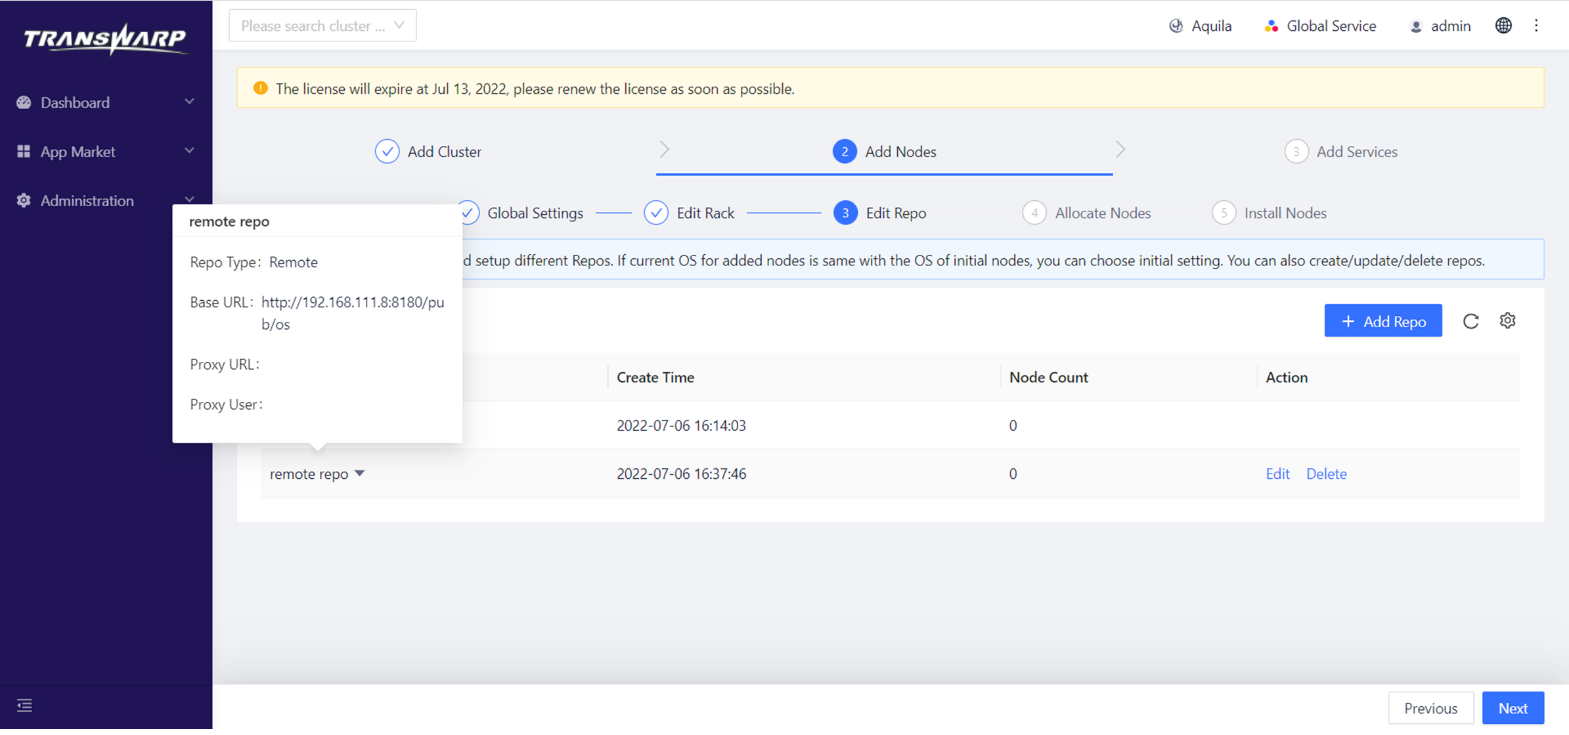
Figure 6-9 Save Users’ Configuration
-
Click “Next” to assign nodes to users’ cluster.
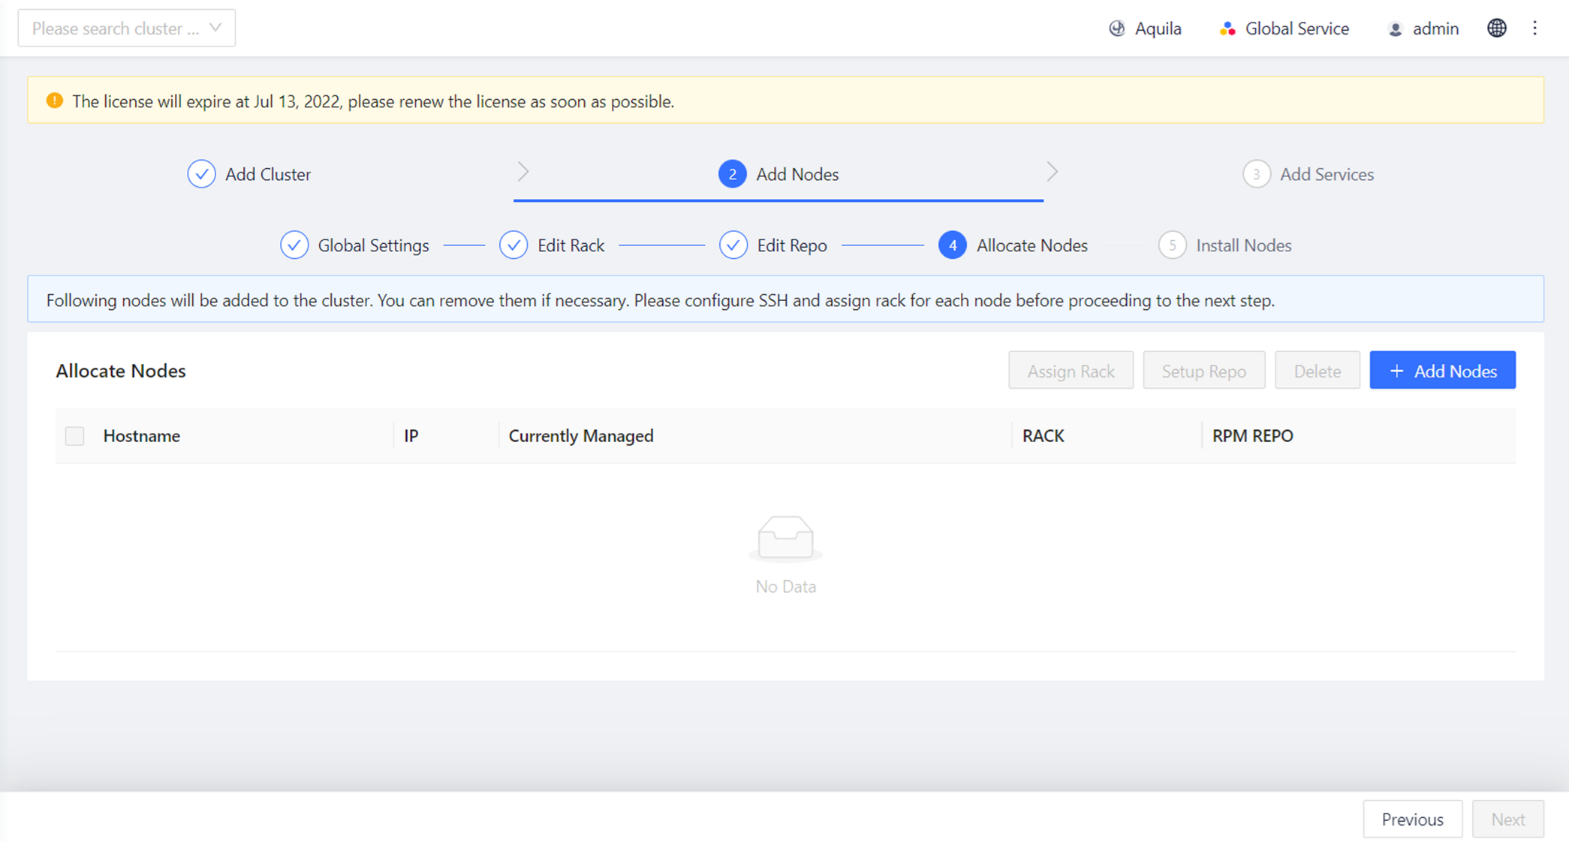
Figure 6-10 Allocate Nodes
-
Click “Add Node” and follow the prompts in the pop-up window to enter a node IP that matches the format, then click "Search", Manager will search for the node users have entered.
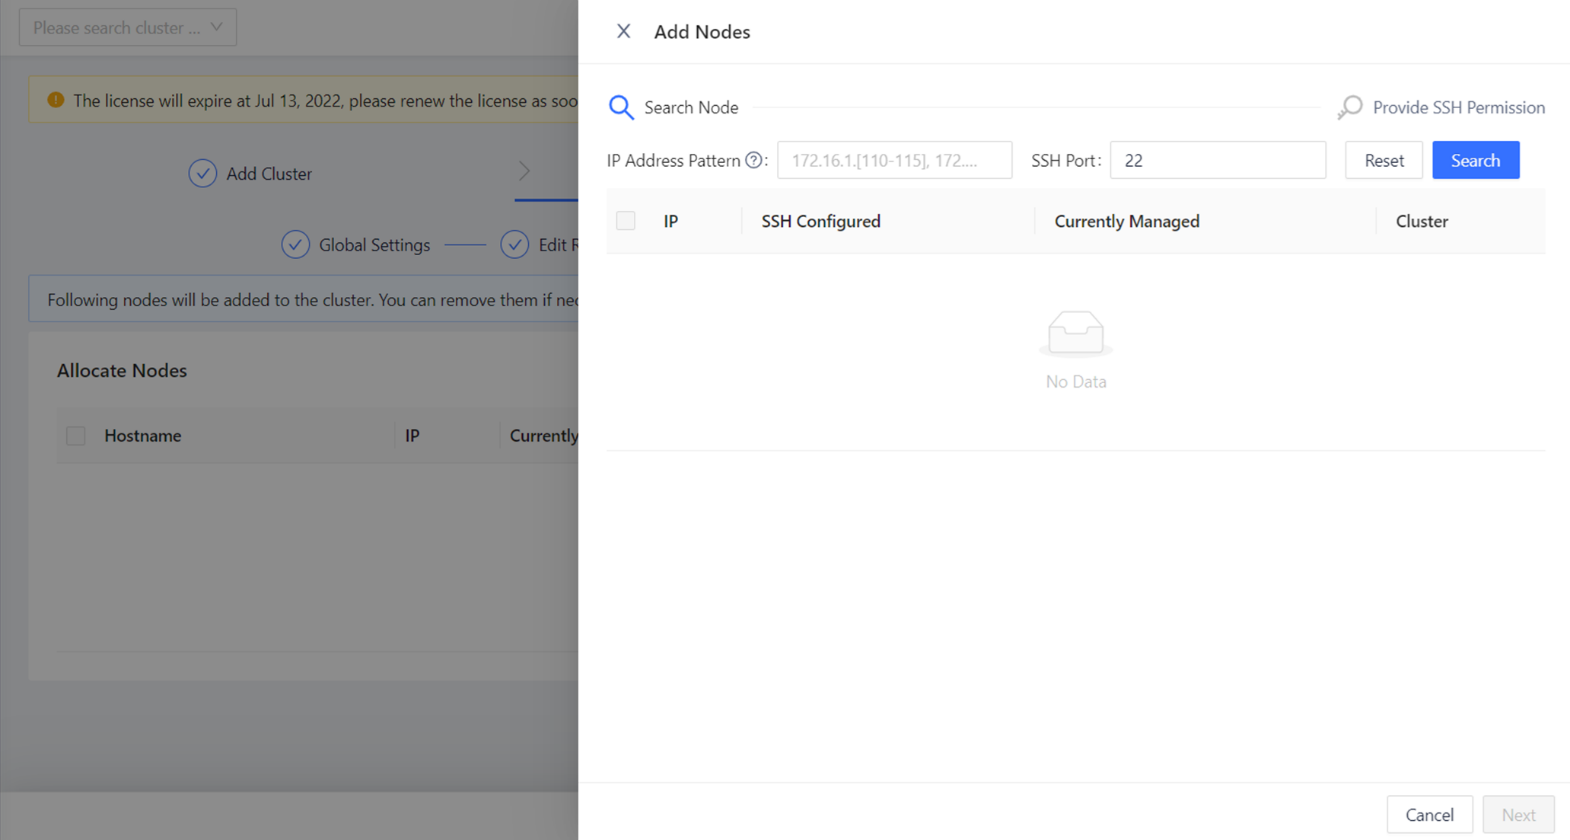
Figure 6-11 Add Nodes -- Search Nodes
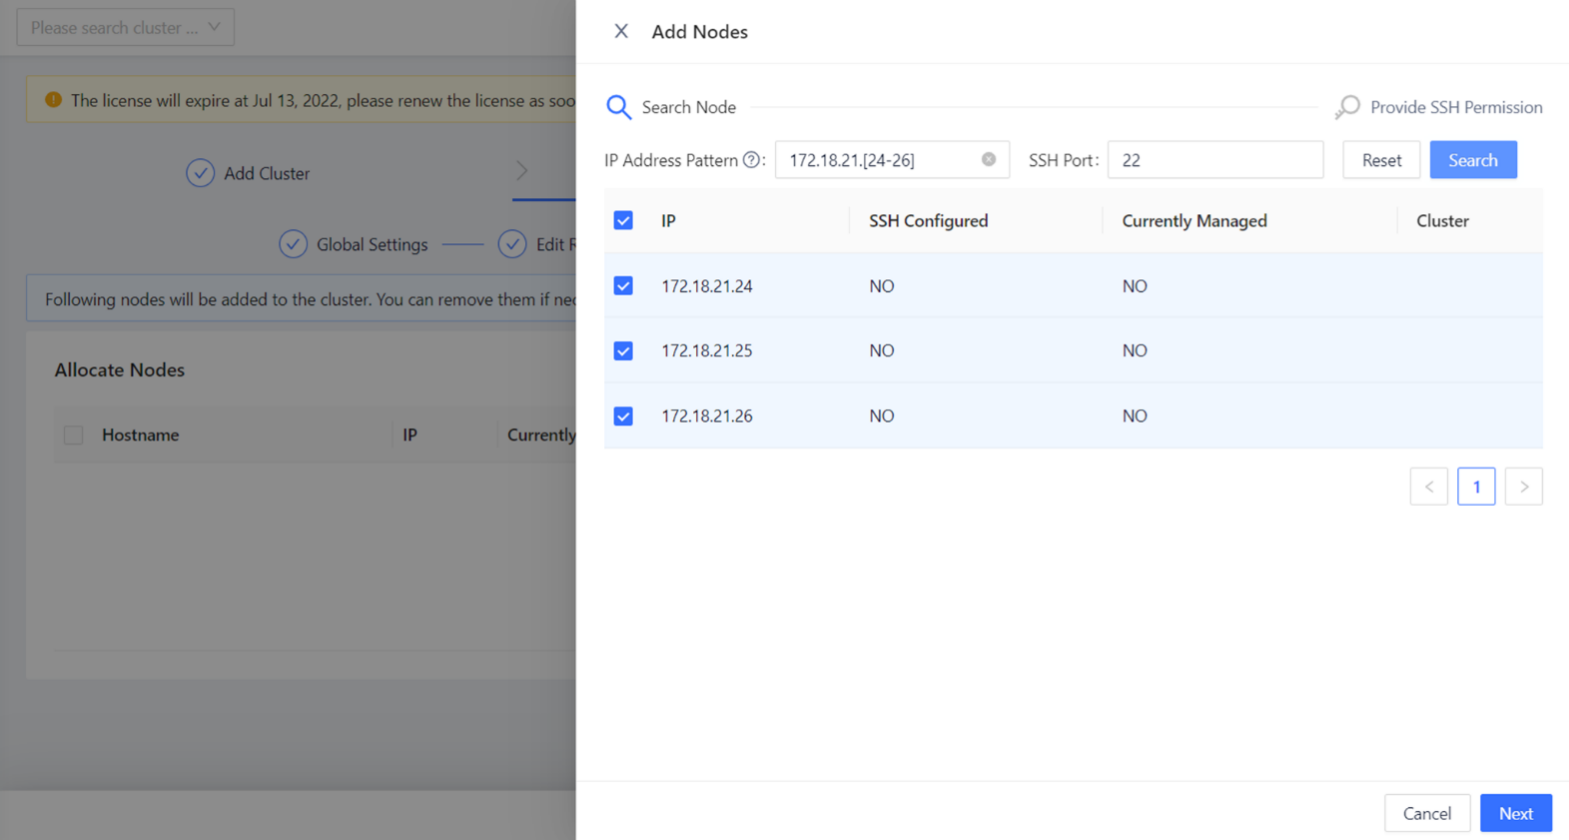
Figure 6-12 Add Nodes
-
Clicking “Next” will bring up a screen for configuring SSH access rights, where users can choose to access the node using users’ identity, and two authentication methods are provided.
-
All nodes use the same password
If users choose this option, enter the password for users’ Manager Node in the corresponding input box, confirm the password, and enter the ssh port number:
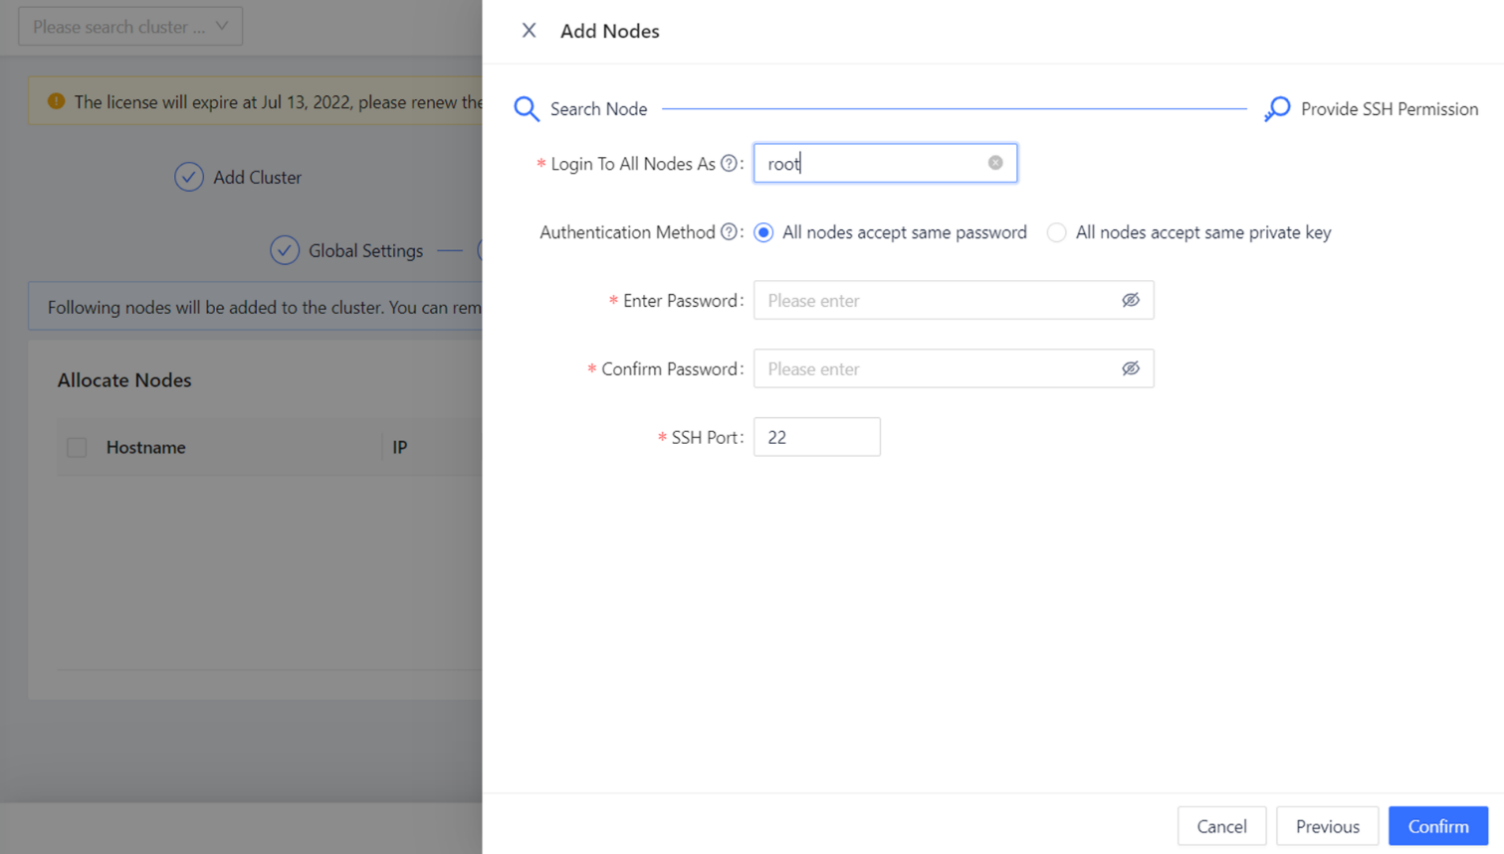
Figure 6-13 Set Node Password
-
All nodes use the same key
If users choose this option, click the Select File button, select the key file to be uploaded in the directory window and enter the ssh port number. Users can also enter the key password (optional).

Figure 6-14 Set Private Key
-
-
After the above configuration is complete, click "OK". Nodes are added. If there is only one cabinet, Manager automatically assigns all nodes to the default cabinet. If users have multiple cabinets, users can indicate the assignment relationship between nodes and cabinets by clicking "Assign Cabinets". If there are more than 6 nodes in users’ cluster, users must configure the cabinet information to facilitate future operation and service configuration.
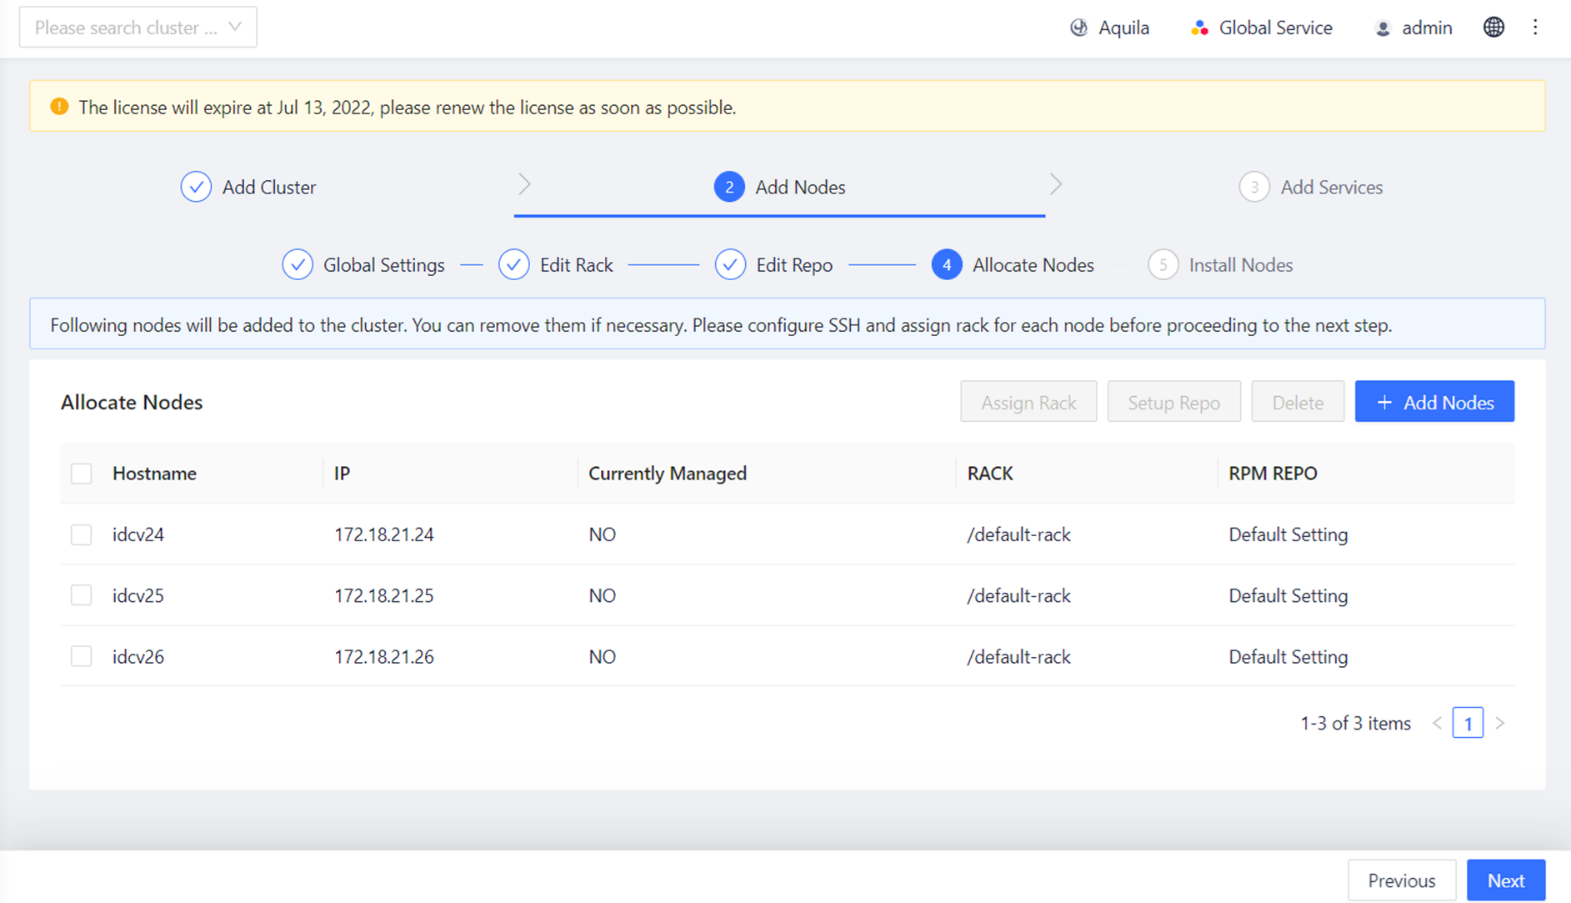
Figure 6-15 Assign Cabinets
-
In this step, users can assign an RPM repository to the node by clicking "Assign Repository" and select an RPM repository. The initial configuration is used by default. After adding nodes, click "Next" to continue.
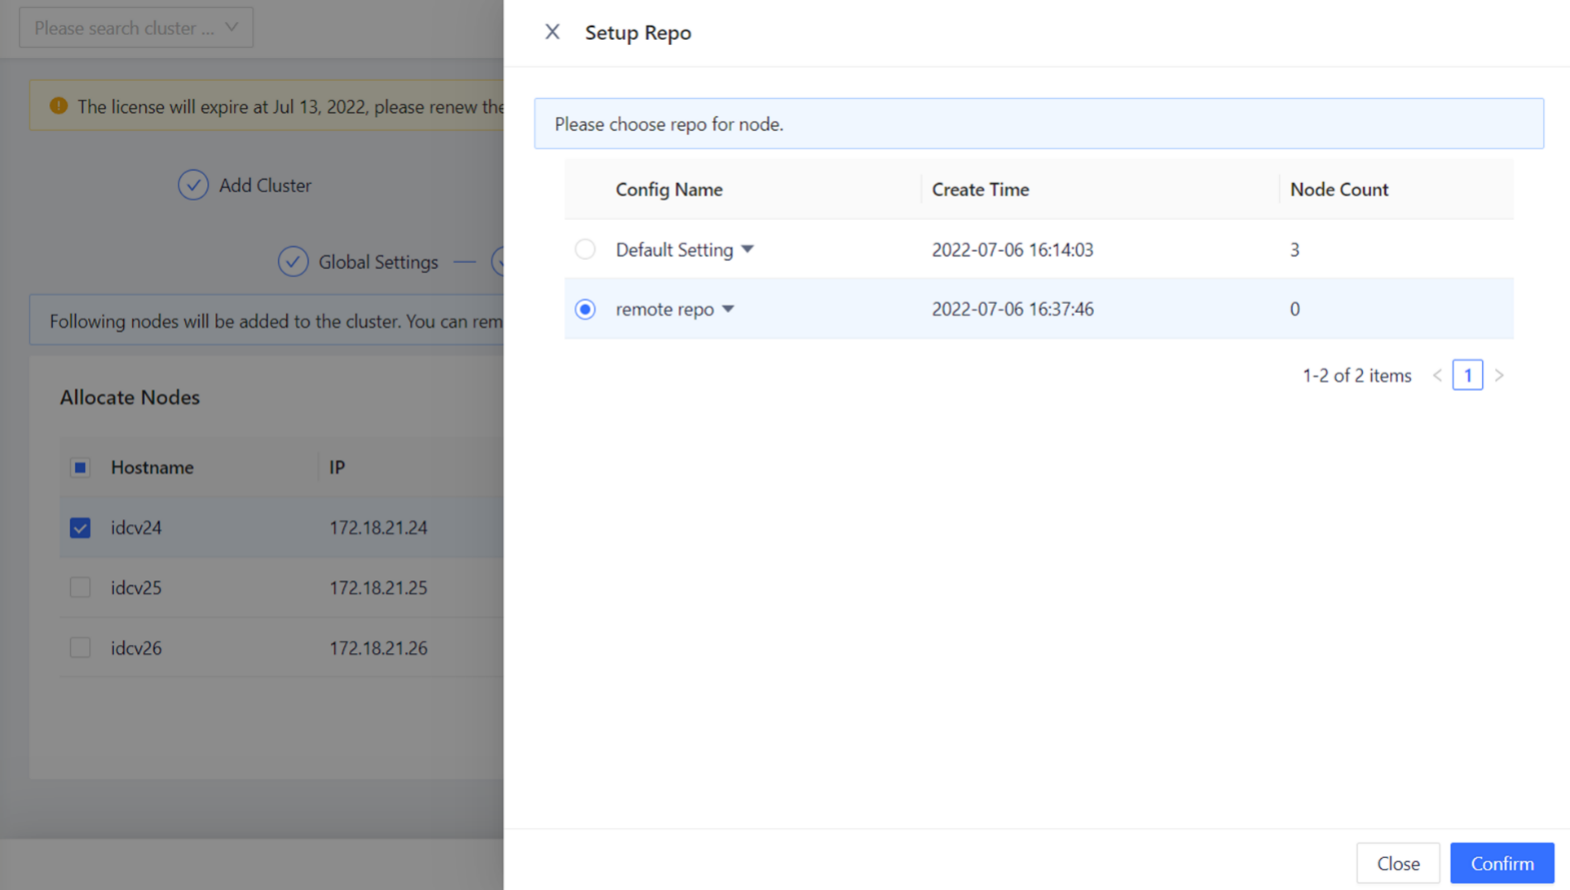
Figure 6-16 Assign Repository
-
The system will start adding nodes automatically, the process of adding nodes will take a while and users will see the success page when it is successful.
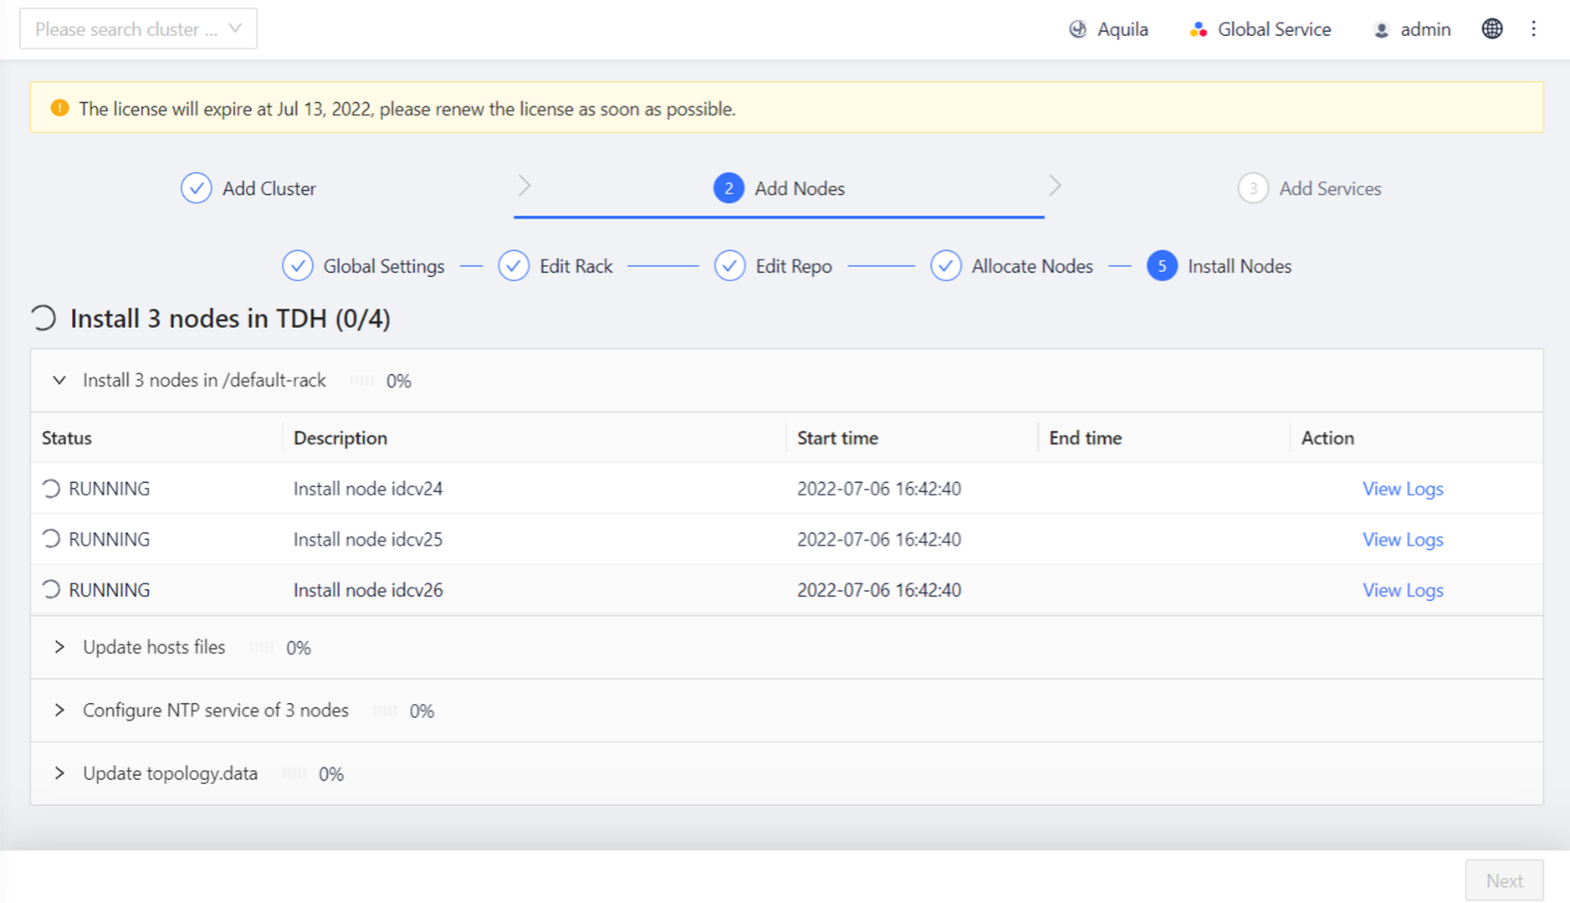
Figure 6-17 Install Nodes

Figure 6-18 Complete Installation
-
Click "Next" to proceed with Installing Service to the cluster.
Kindly note
If users have completed the installation, users can add new nodes to the cluster on the Administration page of Manager. For specific steps, please refer to the TDH Operation Manual.
Updated 11 months ago