
Installing Manager
This chapter describes how to install Manager on the Manager Node in detail.
Kindly note
Before installing, please ensure that users have assigned a dedicated partition for Docker as required by Pre-installation Inspection.
To install the Manager, users need to unzip the installation package and then run the Web Installer to install it using the graphical interface.
-
Unzip the Manager installation package. Run the following command on the server where the installation package is located:
# Unzip the installation directory
tar xvzf <manager-install-pkg>
# Go to the unzipped directory
cd
# Execute the install binary file
./install
<manager-install-pkg> is the name of the Manager installation package, usually named as TDH-Platform-Transwarp-version.tar.gz. For specific name, refer to Section Installation Media.
-
Access to the Manager Node via users’ browser and enter the Web Installer interface.
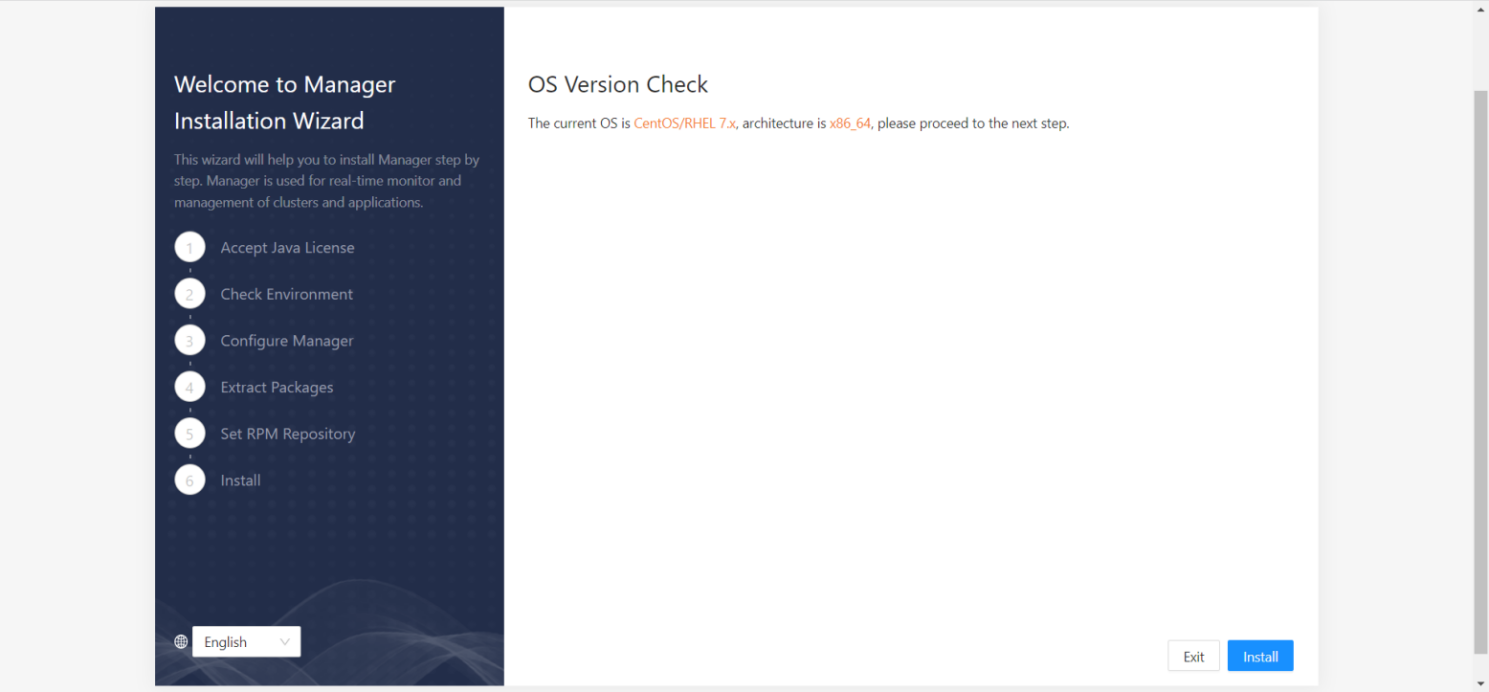
Figure 5-1 Pre-installation Version Check
-
The system will first ask users to read a Java license. When users finish reading, click “Accept” to the next step.
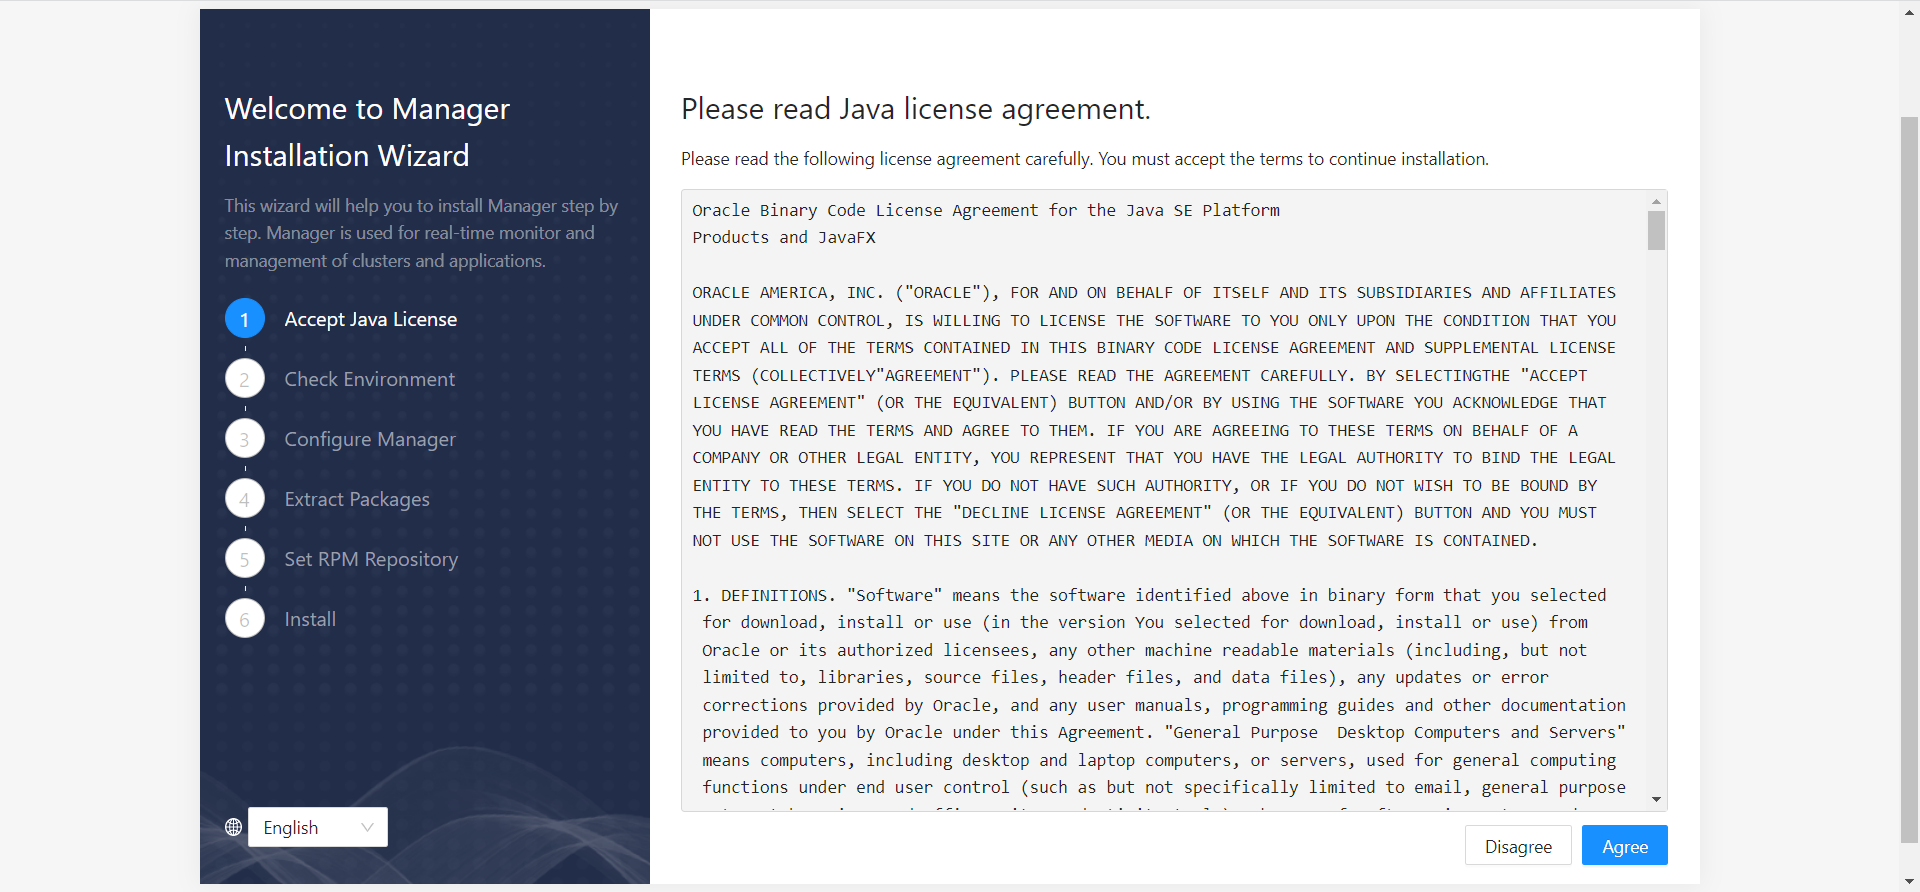
Figure 5-2 Read Java License
-
The system will automatically check the environment configuration of the Manager Node, mainly including time, date, time zone and host name information, which will be displayed on the screen. Please confirm.
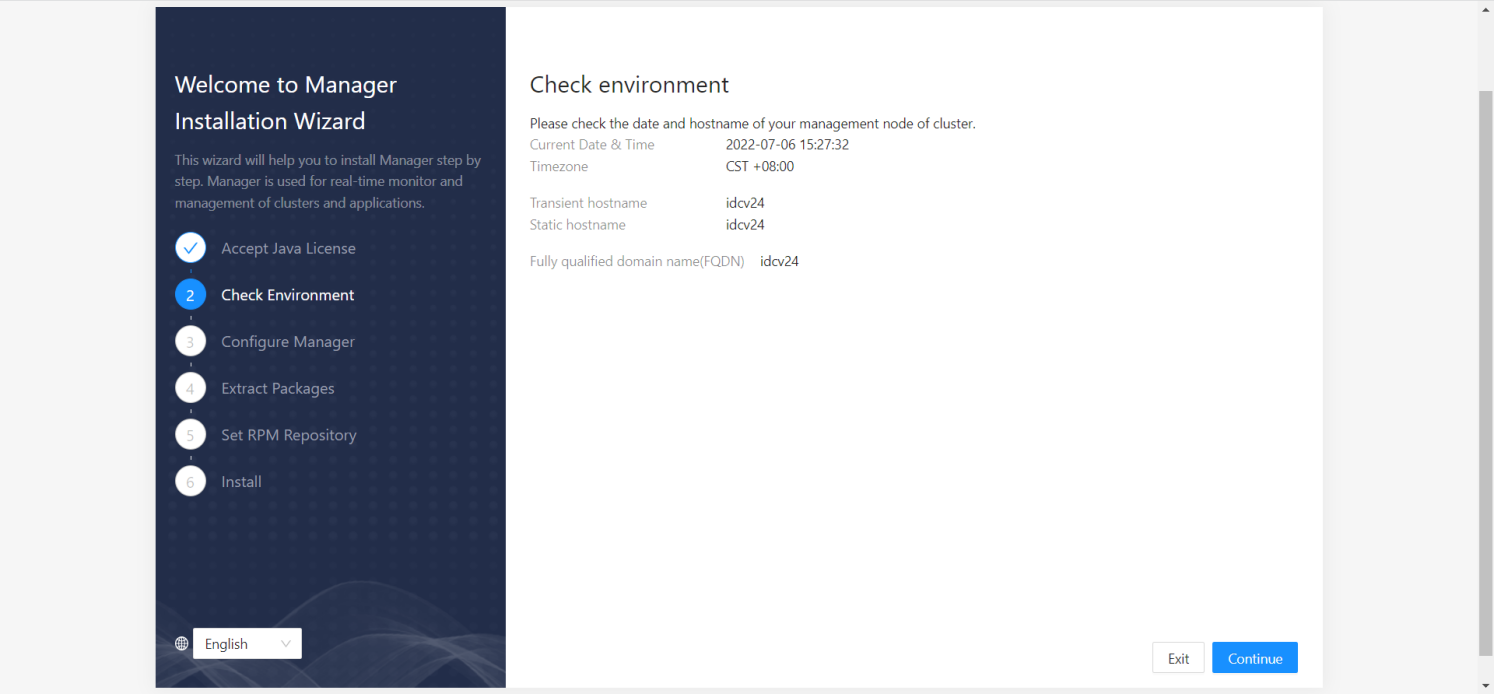
Figure 5-3 Check Environment
-
Depending on the number of NICs on the Manager Node, users need to do the following:
-
If only one NIC is on the Manager Node, users will be instructed to set the Manager port after installation. It’s recommended to set to the default “8180”.
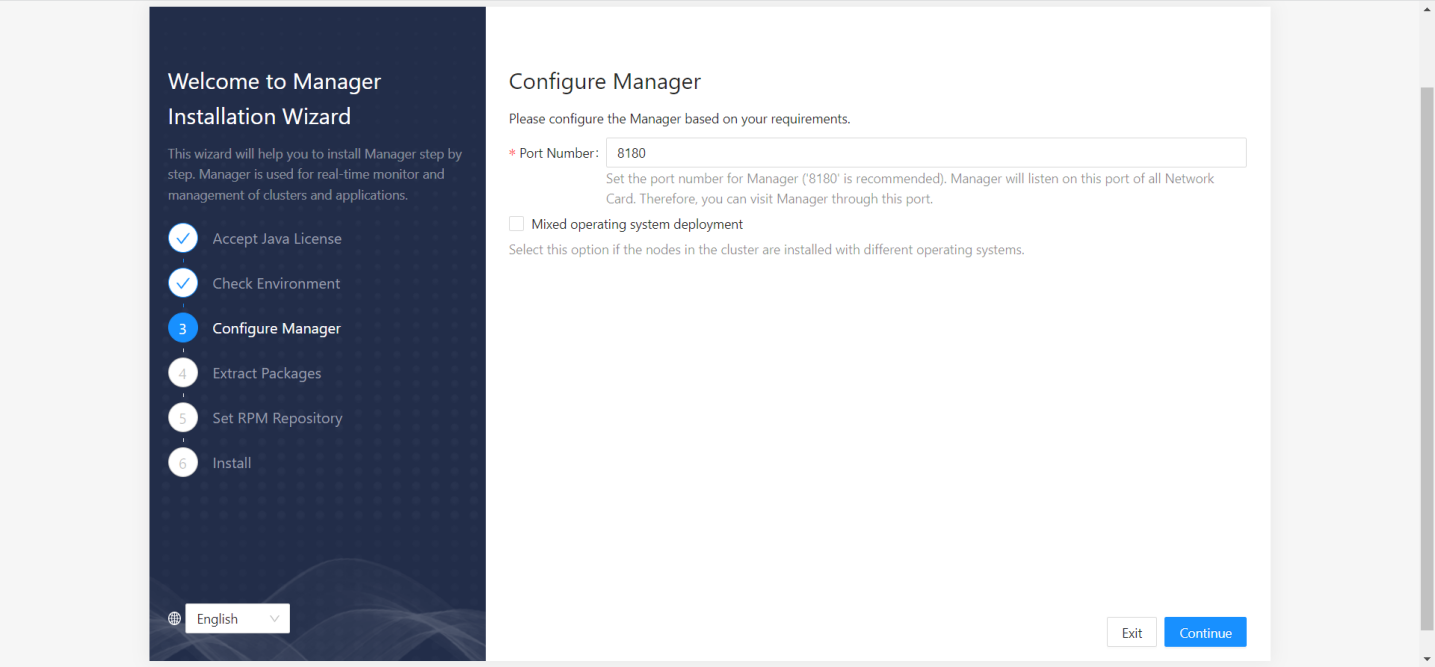
Figure 5-4 Configure Manager
-
If there are multiple NICs on the Manager Node, users will be asked to select one of them for Manager to communicate with other nodes in the cluster. At this step, users should choose the NIC for internal communication in the cluster.
-
-
Waiting for installation
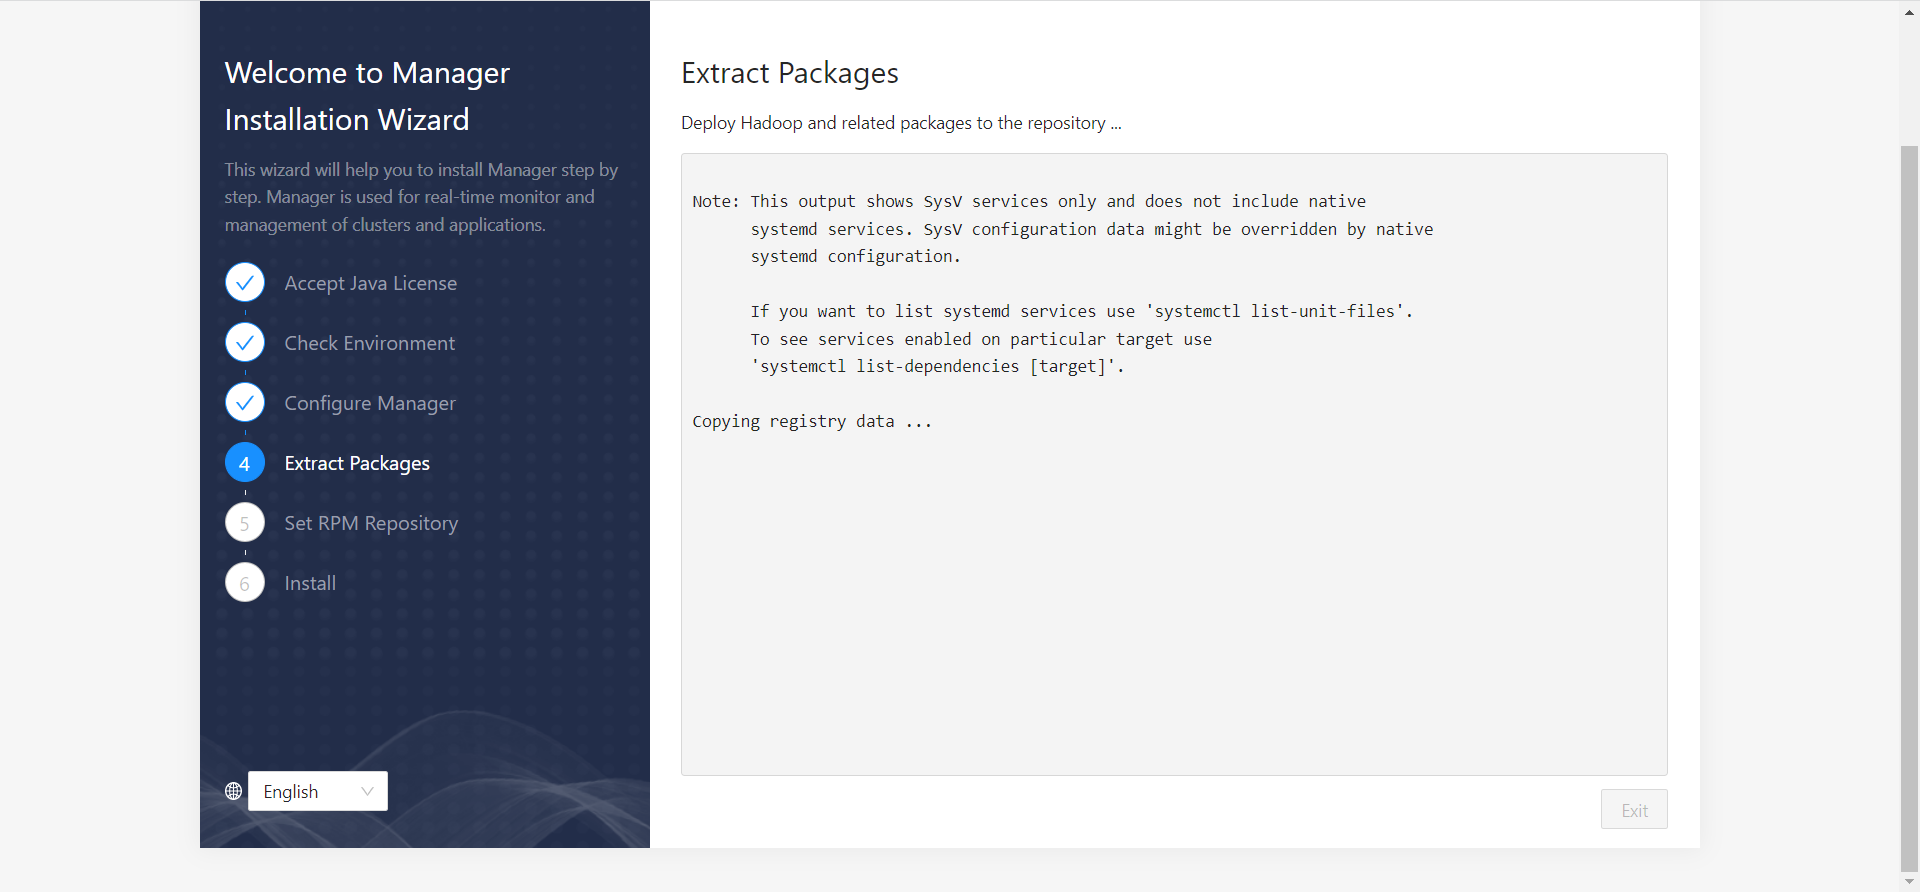
Figure 5-5 Waiting for installation
-
Installing Manager requires a repository (repo) containing the corresponding version of the operating system. If users’ operating system is CentOS or Red Hat, users will see the following prompt:

Figure 5-6 Set RPM Repository
-
(All operations in this step take CentOS/Red Hat as an example. The operations of SUSE system are the same. The difference is that if users use SUSE system, the place where "Yum" is displayed in the example step will display "zypper" in users’ operation.) In this step, users can choose whether to add a new operating system repository. Depending on users’ choice, users need to do the following:
-
If users choose "Use remote RPM repository", users need to enter the URL of the created repository:

Figure 5-7 Set RPM Repository -- Use remote RPM repository
-
If users choose "Create new RPM repository (DVD)", users need to have the CD for the corresponding version of the operating system ready.
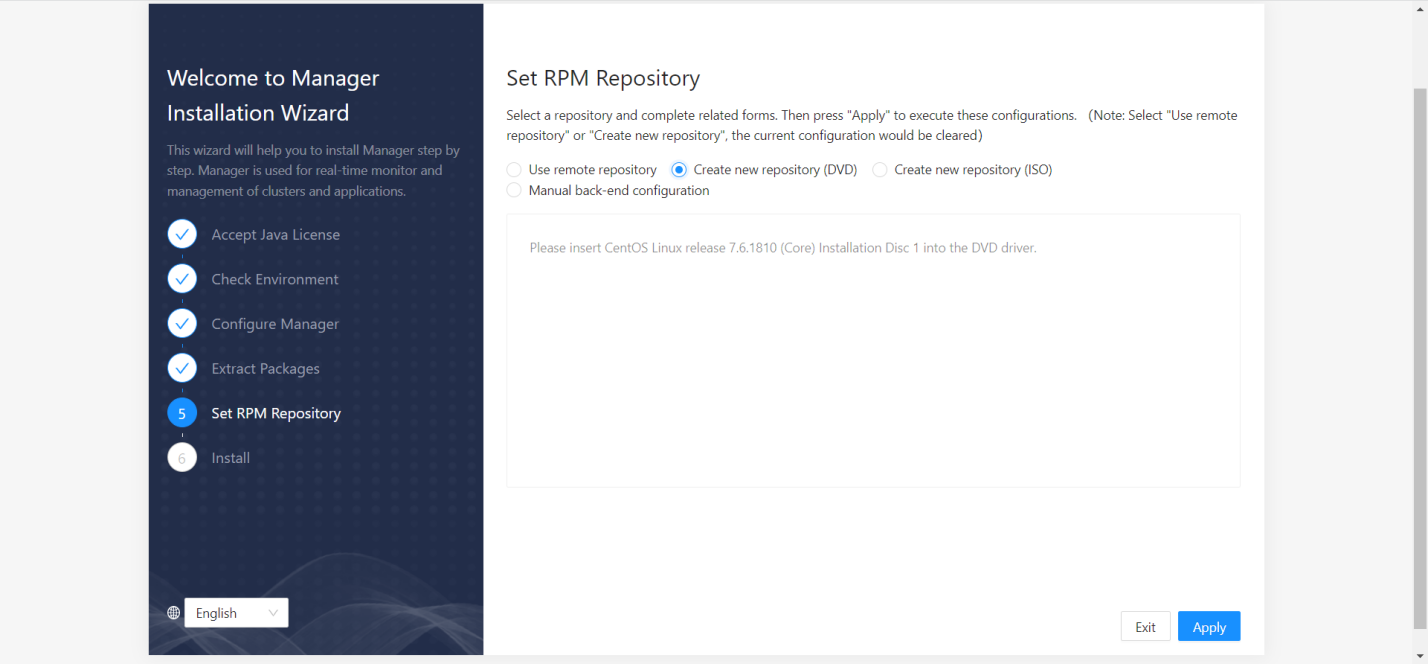
Figure 5-8 Set RPM Repository -- Create new RPM repository (DVD)
-
If users choose "Create new RPM repository (ISO)", users need to have the ISO file for the corresponding version of the operating system ready. We recommend that users use the ISO mirror method to generate repository package.
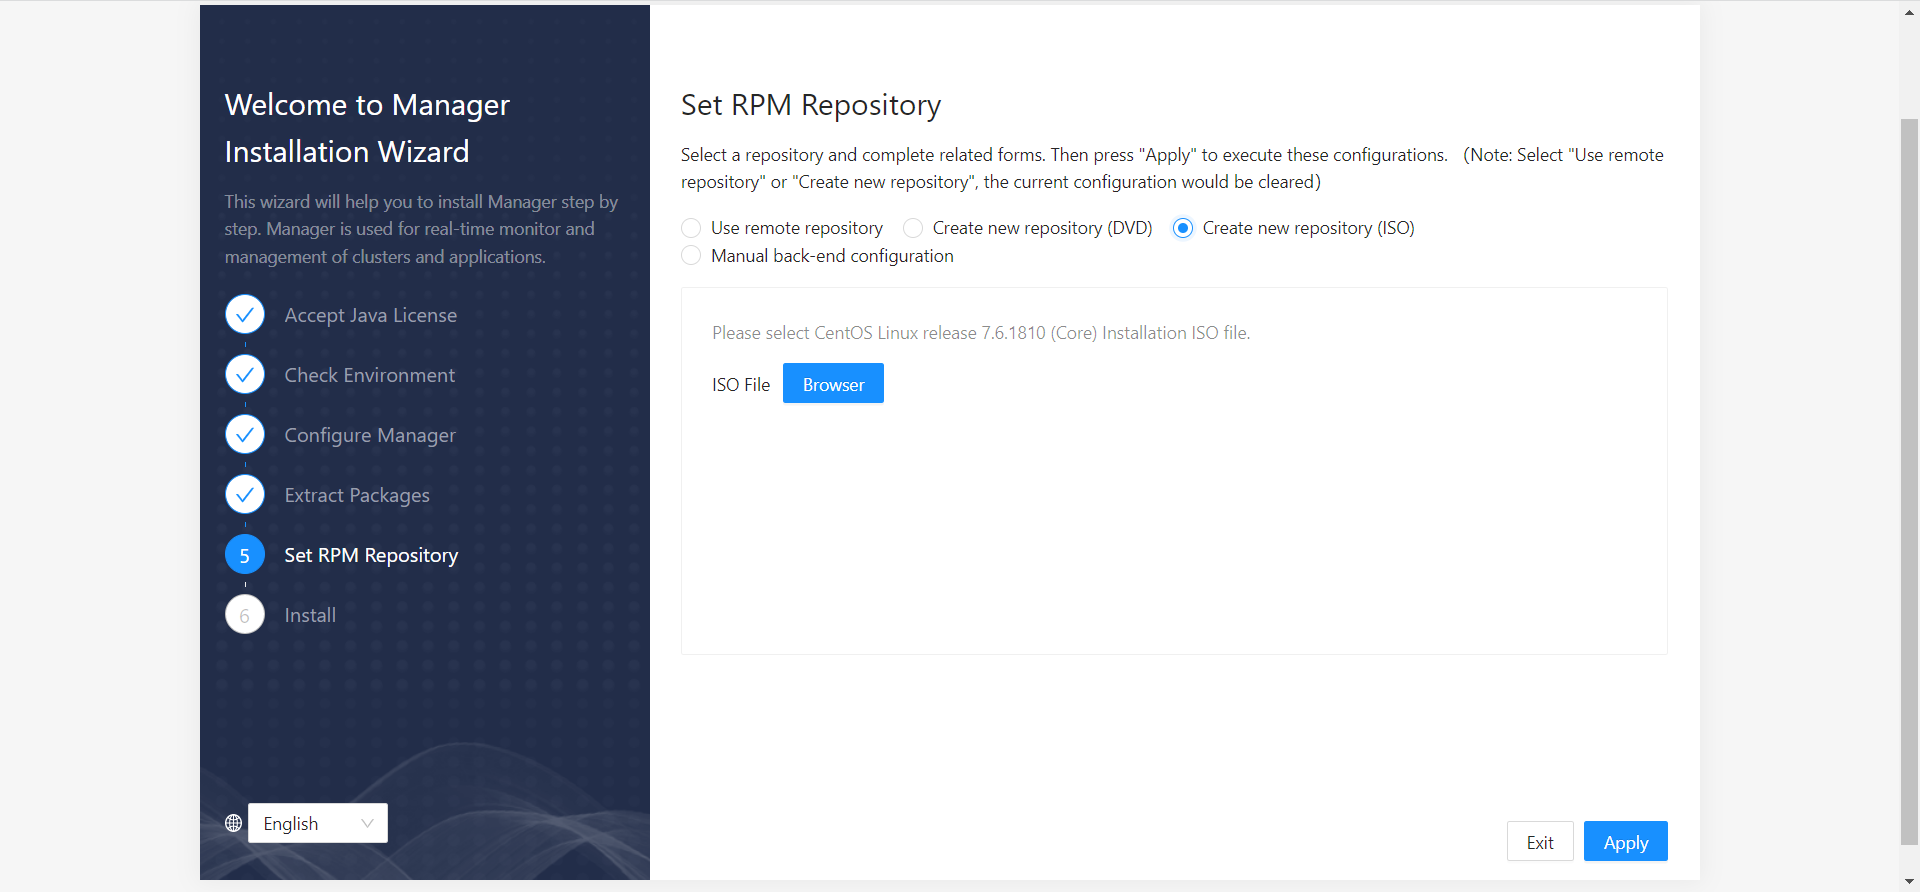
Figure 5-9 Set RPM Repository -- Create new RPM repository (ISO)
-
If users choose “Manual configuration in the background”, no further actions need to be done in this step. When users finish selecting, the system will clear the repository cache:
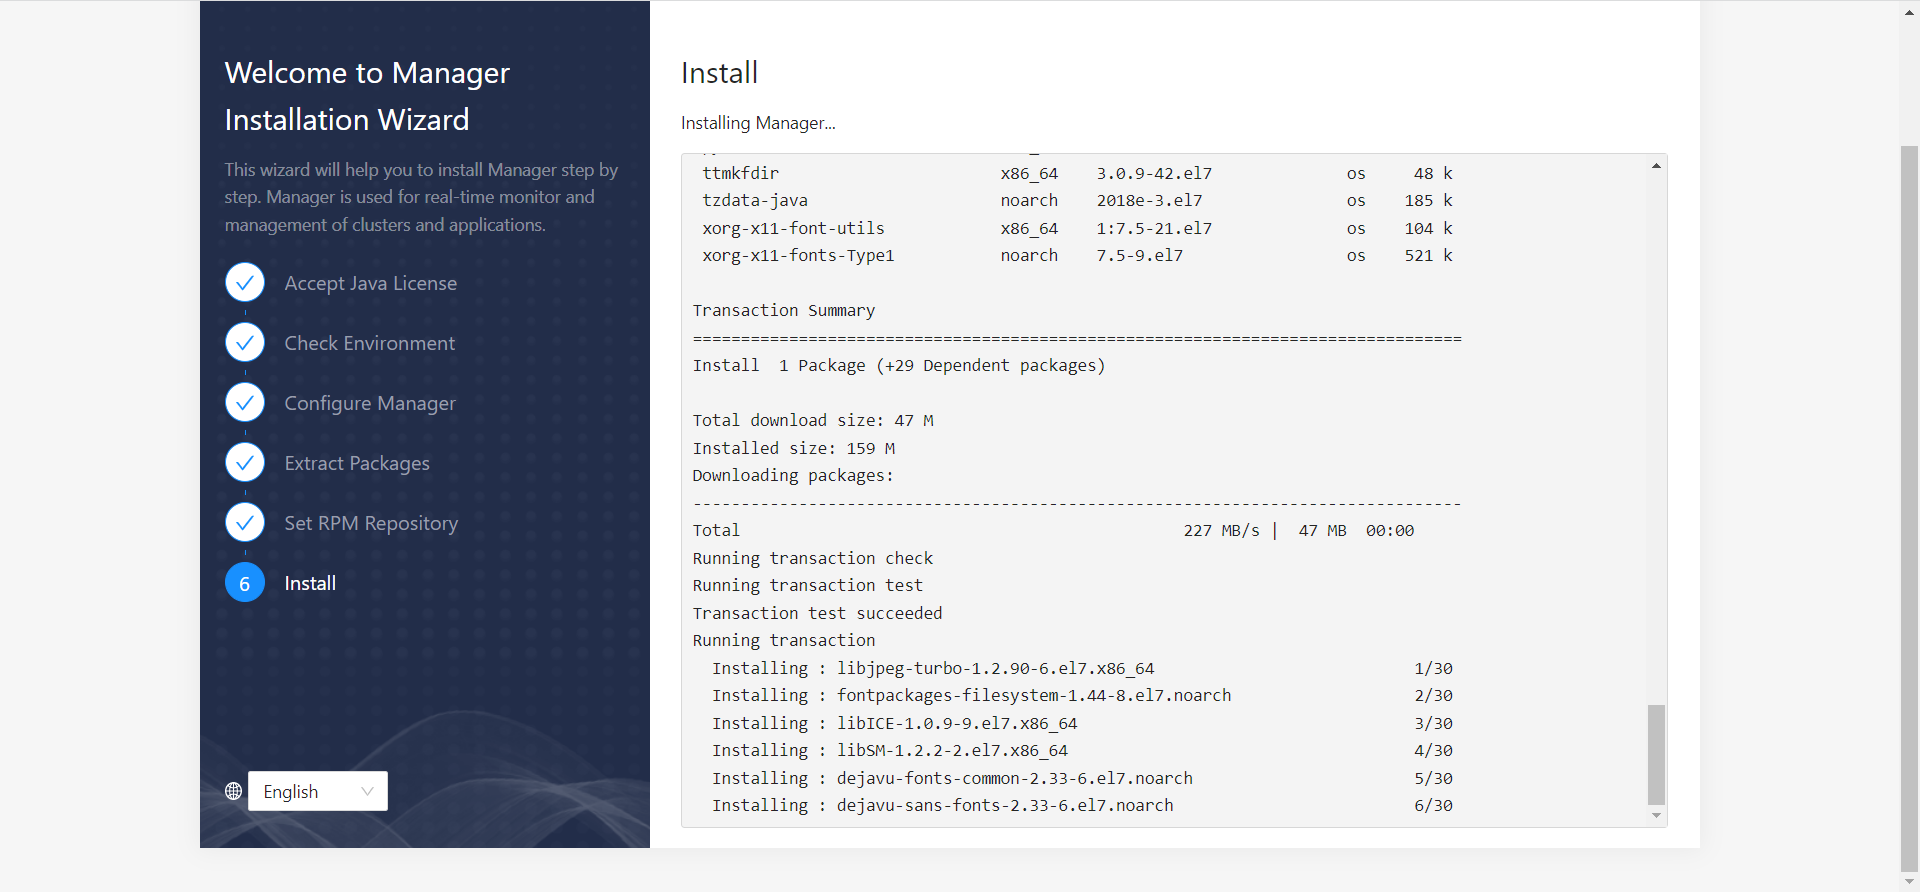
Figure 5-10 Clear the Repository Cache
-
-
Once the repository cache has been cleared, system will install and configure Manager automatically. The installation program will automatically install the necessary software packages silently throughout the process, and automatically jump to the next step after the installation configuration is completed.
-
The Manager installation is complete. Users can visit the installation address prompted and use the default username/password (admin/admin) to log in to the management interface to continue the next configuration.
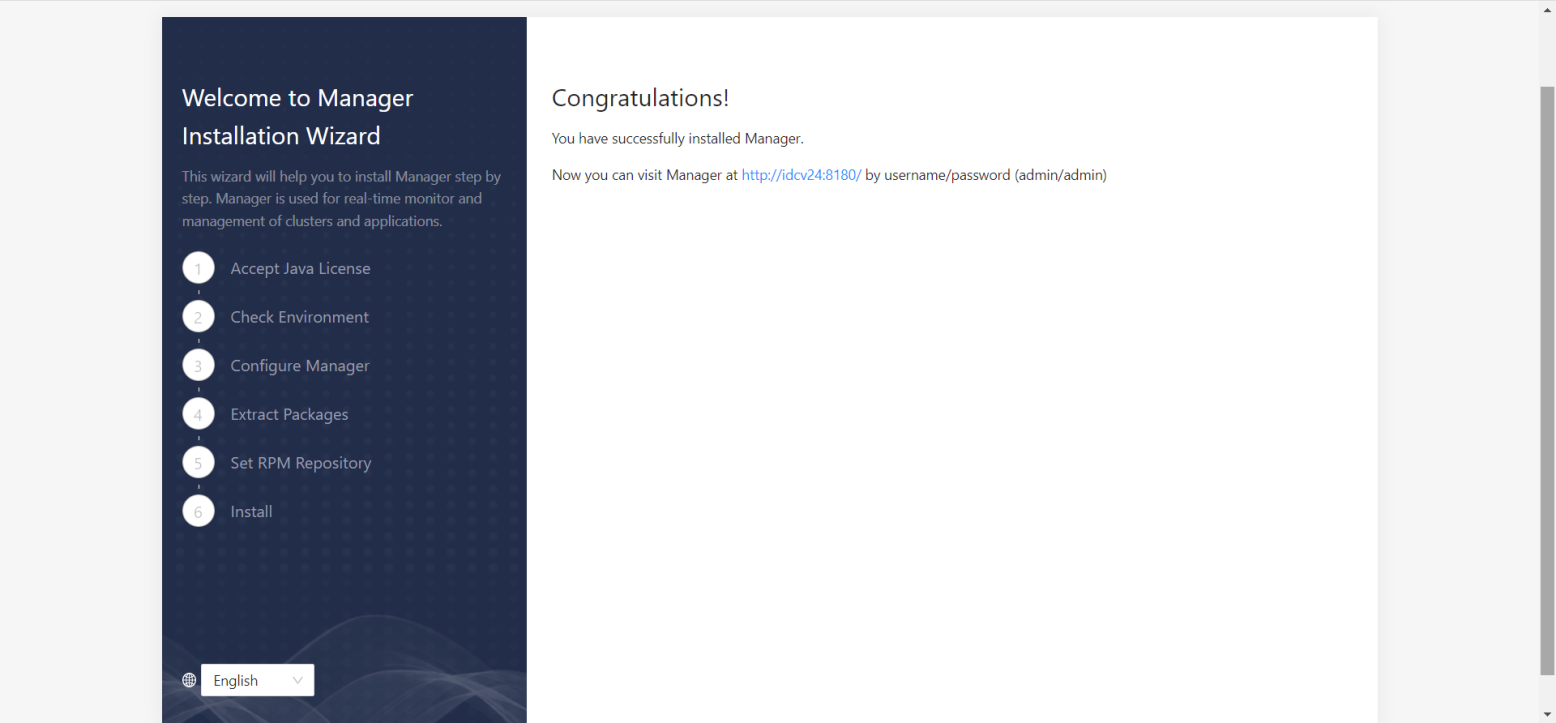
Figure 5-11 Finish Installation
Updated 9 months ago